Craft
Your Outdoor Kitchen Doesn't Belong Against the House
The outdoor kitchen pressed against the back of the house is the default specification — and the cheapest way to spoil one. Why the best ones stand apart.
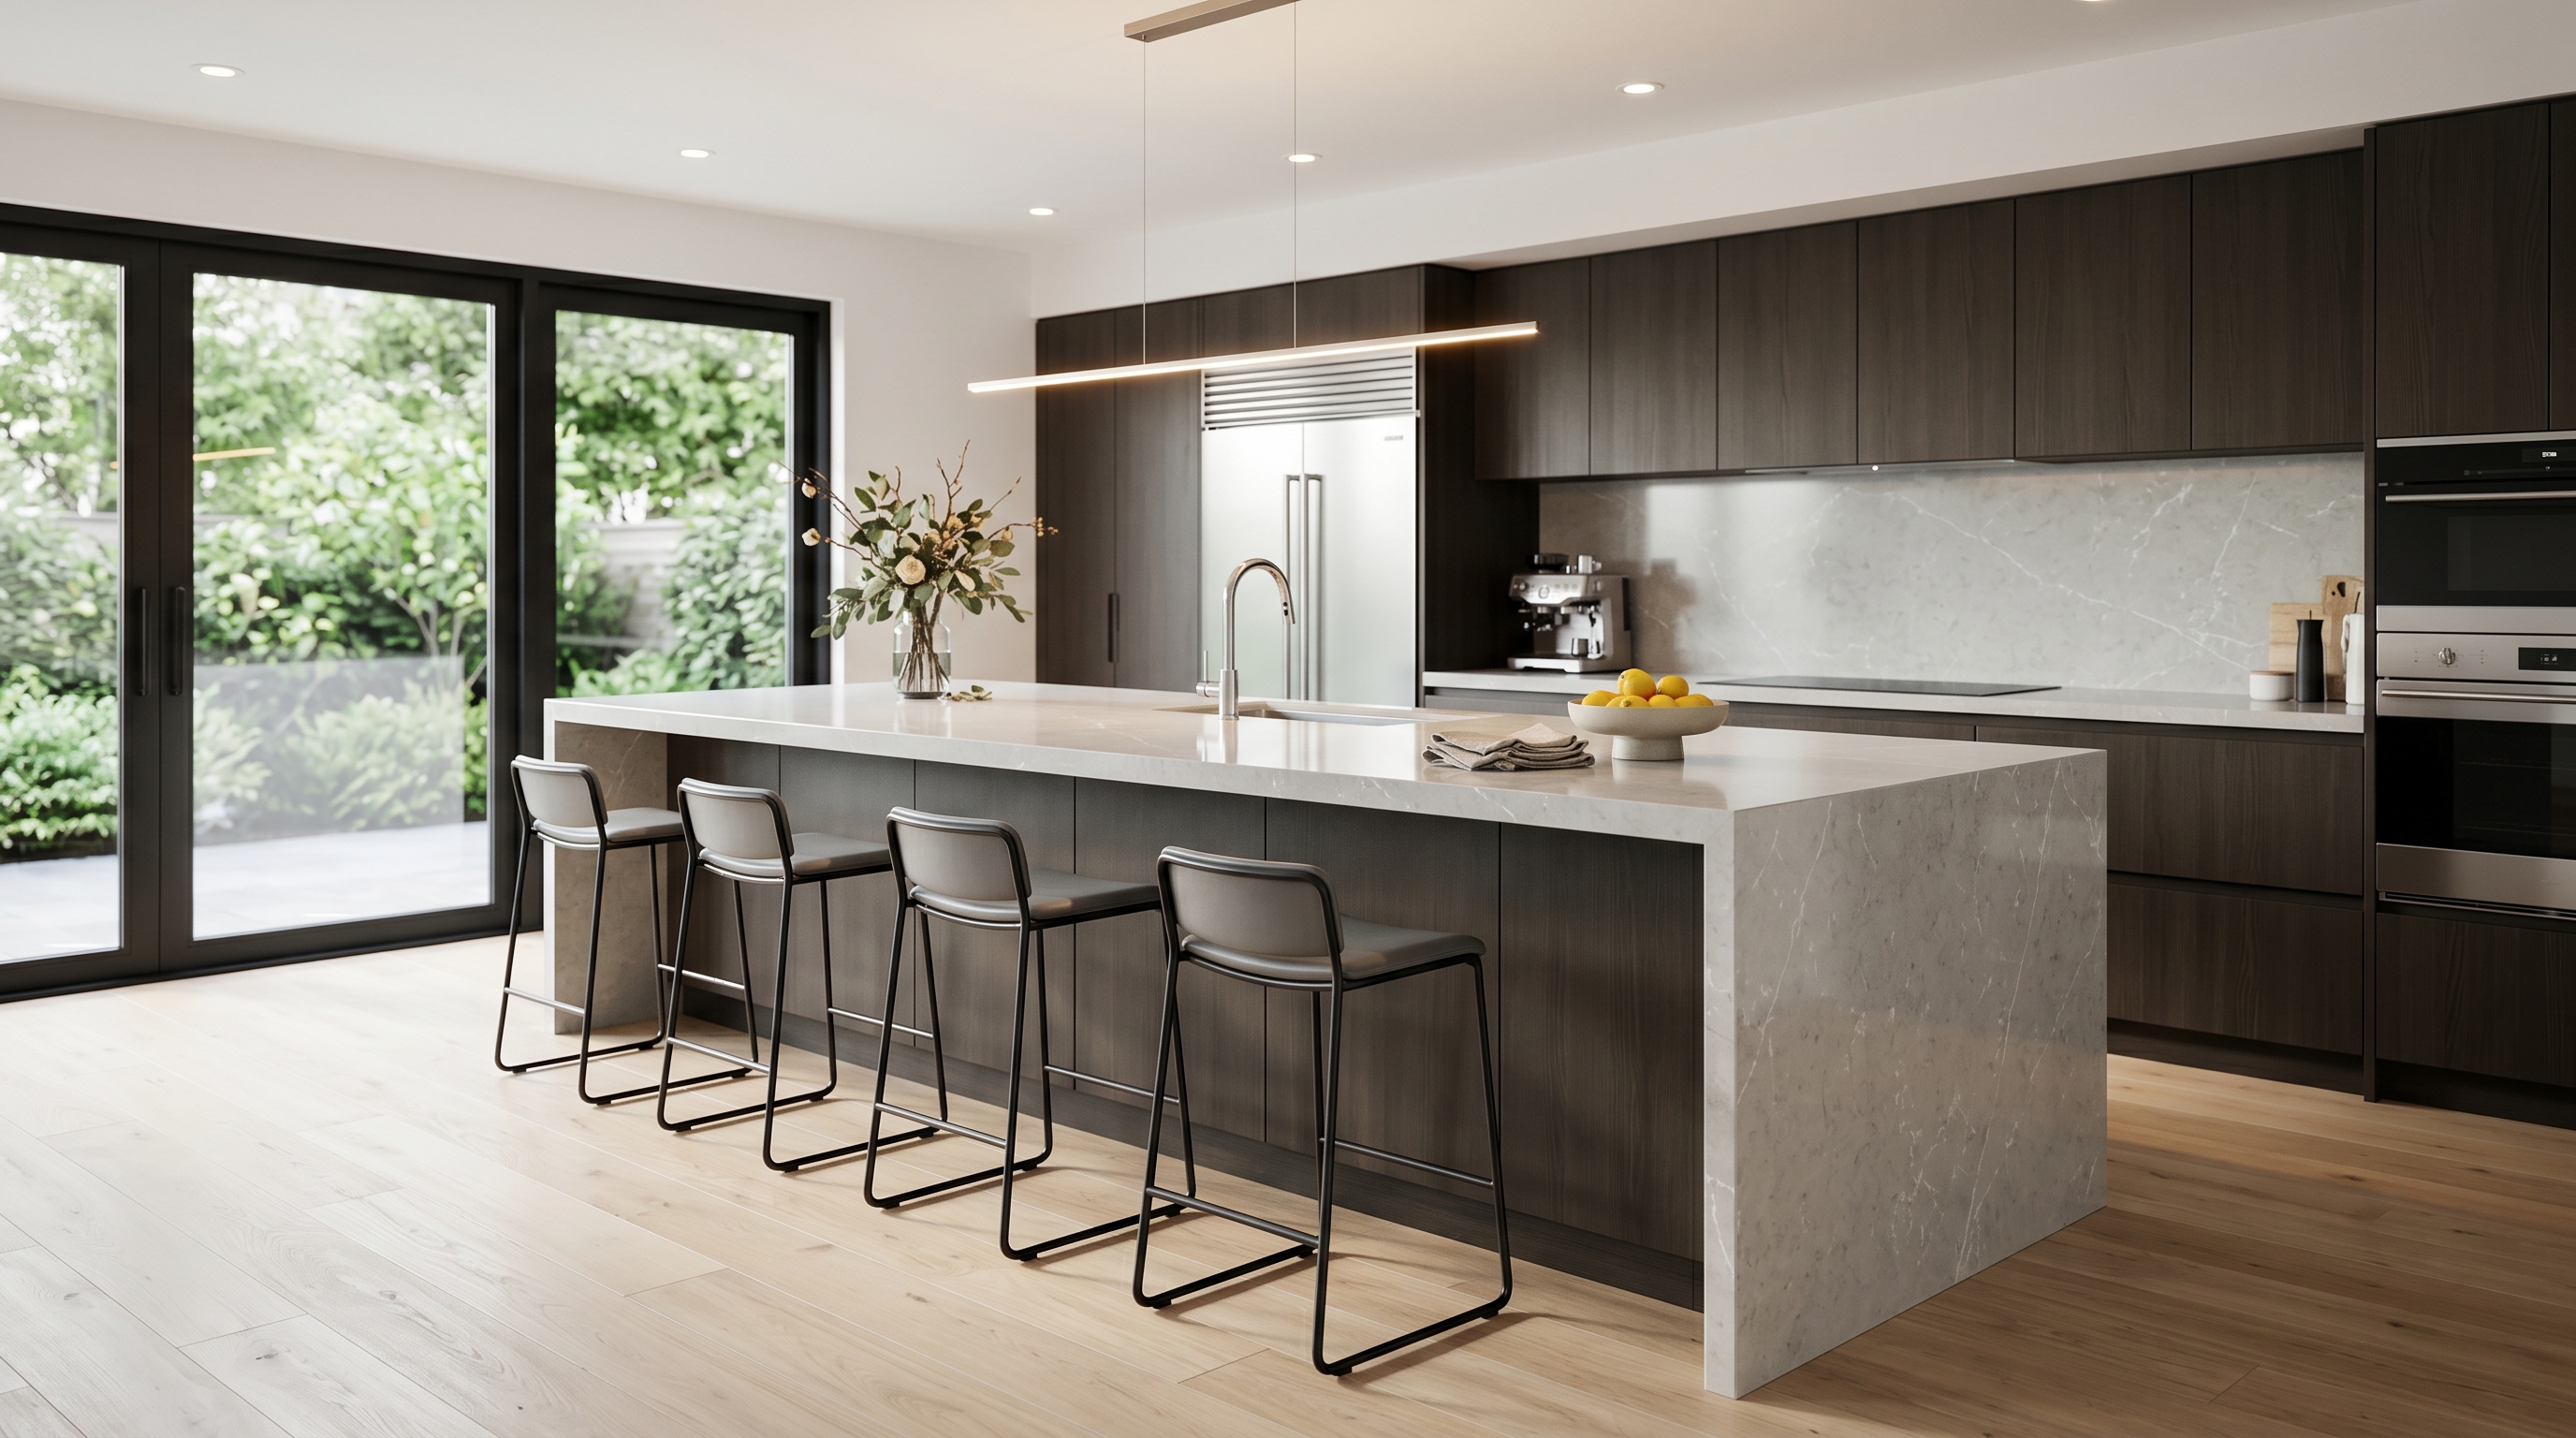
The default outdoor kitchen is glued to the house. A grill set into a counter against the back wall. A small refrigerator tucked into the cabinet beside it. A sink plumbed through the brick behind. The geometry follows the gas line and the breaker panel — and that is the kitchen most plans show and most homes get.
It is also the cheapest way to spoil one.
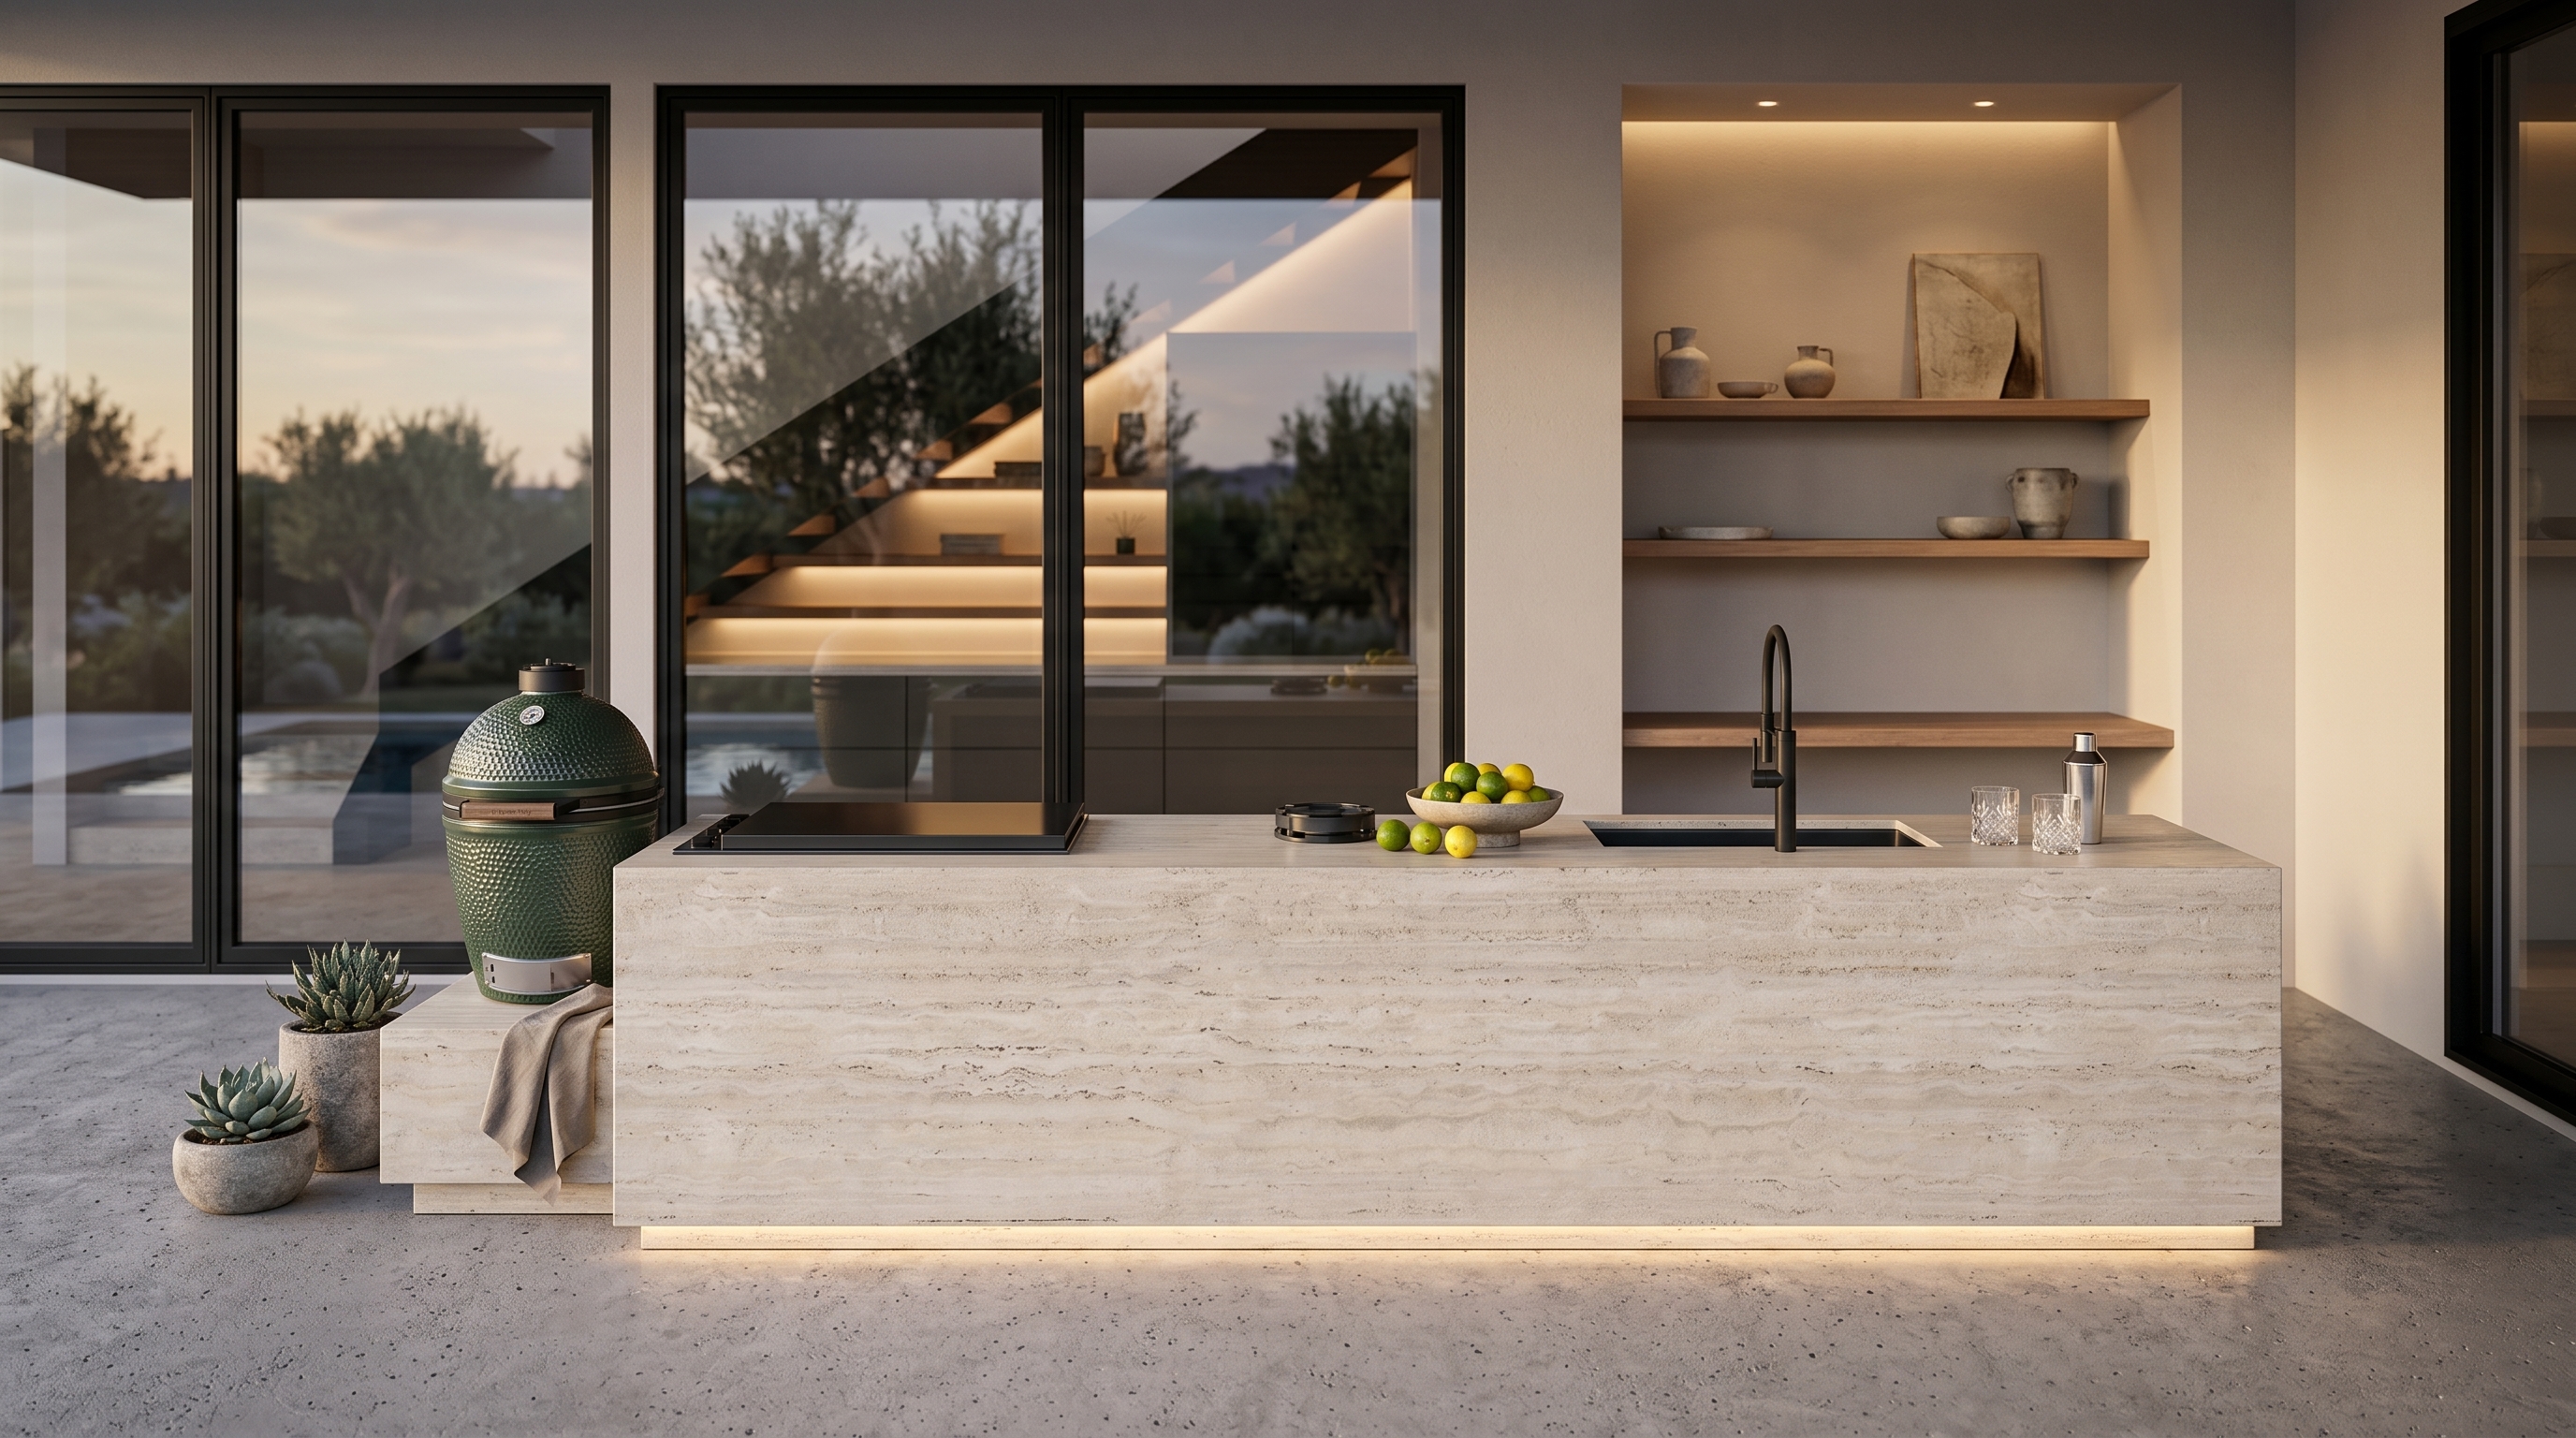
The outdoor kitchens that work best — that get used the most, age the slowest, and sit at the center of a household's life rather than at the side of its house — are not attached to the building. They are pulled deliberately away from it: out onto the lawn, off the corner of a pool, under their own roof. The reflex says build it close to the kitchen door. The better instinct is to put real distance between the cooking and the home.
The convenience that costs more than it saves
The case for attaching the outdoor kitchen to the house is always the same. Shorter gas runs. Shorter electrical runs. No trenching for water. A closer trip back to the indoor pantry. All of it is real. All of it is calculated against the wrong line item.
The cost the budget misses is the cost of the next twenty years of using the room. A kitchen pressed against the back wall is a kitchen whose smoke, grease, heat, noise and visual clutter all sit one open door away from the rest of the house. The four-foot trench you avoided at construction is paid for every time someone leaves the kitchen window open during a brisket.
The code is more honest than the brochure
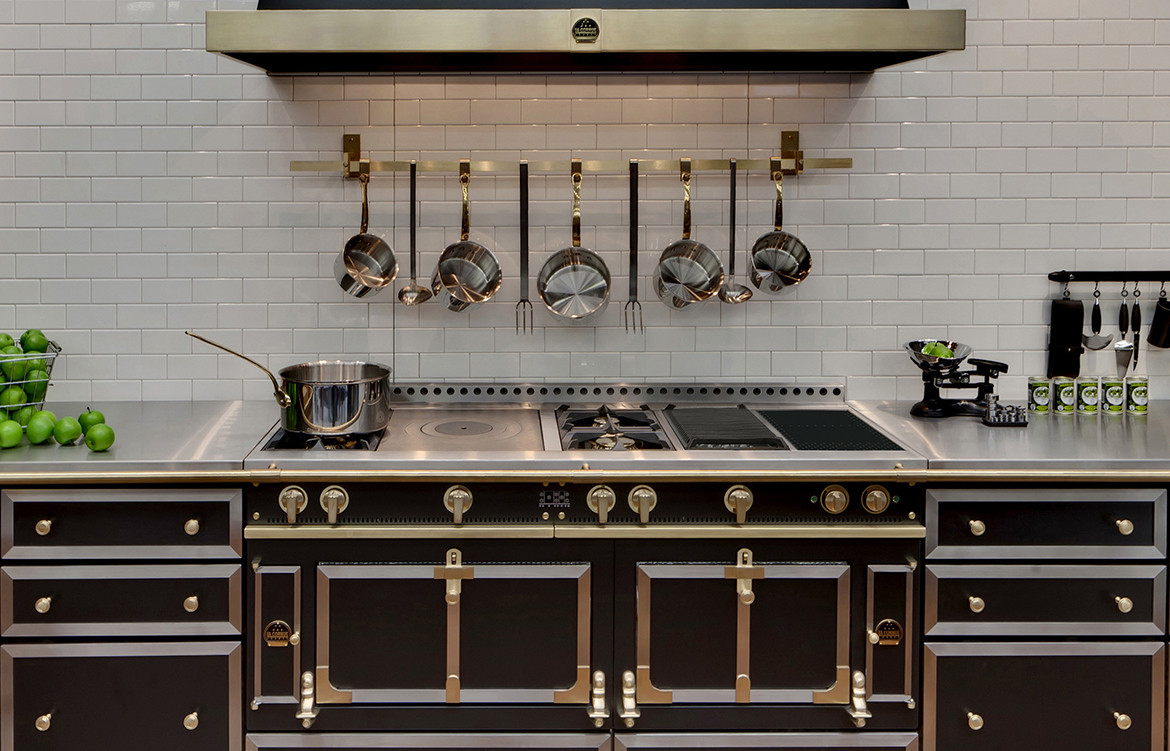
The NFPA 1 Fire Code puts the minimum distance between a built-in grill and a combustible structure at ten feet — reducible to three feet only behind a non-combustible barrier. The number is not aesthetic. It is the National Fire Protection Association's recognition that the working heat of a real grill — a thirty-six-inch unit running sixty thousand BTU or more — produces a column of hot exhaust that needs somewhere to go that is not your roofline.
What follows is the part attached-kitchen owners learn empirically. Smoke is greasy. Greasy smoke draws straight up the back of the house and settles wherever it slows. Soffits. The underside of an awning. The vinyl siding the previous owner chose. The window frame above the grill. The ten-foot rule exists because the cheapest places to harm a house are the ones the cook stands closest to.
An outdoor kitchen pressed against the house is venting into the side of the house. That is the bill — paid later, paid quietly.
The hood you would have to build to make it work
The recovery move is to bolt a real hood above the grill, and this is where the math turns ugly. Once a grill sits under any kind of roof, soffit, lanai or pergola, ventilation specialists size hoods at twelve hundred CFM or more — three to four times what a typical indoor range hood pulls. That fan needs power, ducting that exits the roof, make-up air to replace what it draws, and weather-sealed penetrations at every joint. None of it shows in a photograph. All of it shows in the install bill, the annual cleaning, and the noise the room makes the moment someone lights the grill.
None of this is paid by the outdoor kitchen that simply stands out in the yard, where the wind handles ventilation for free.
What the room costs the household to live with
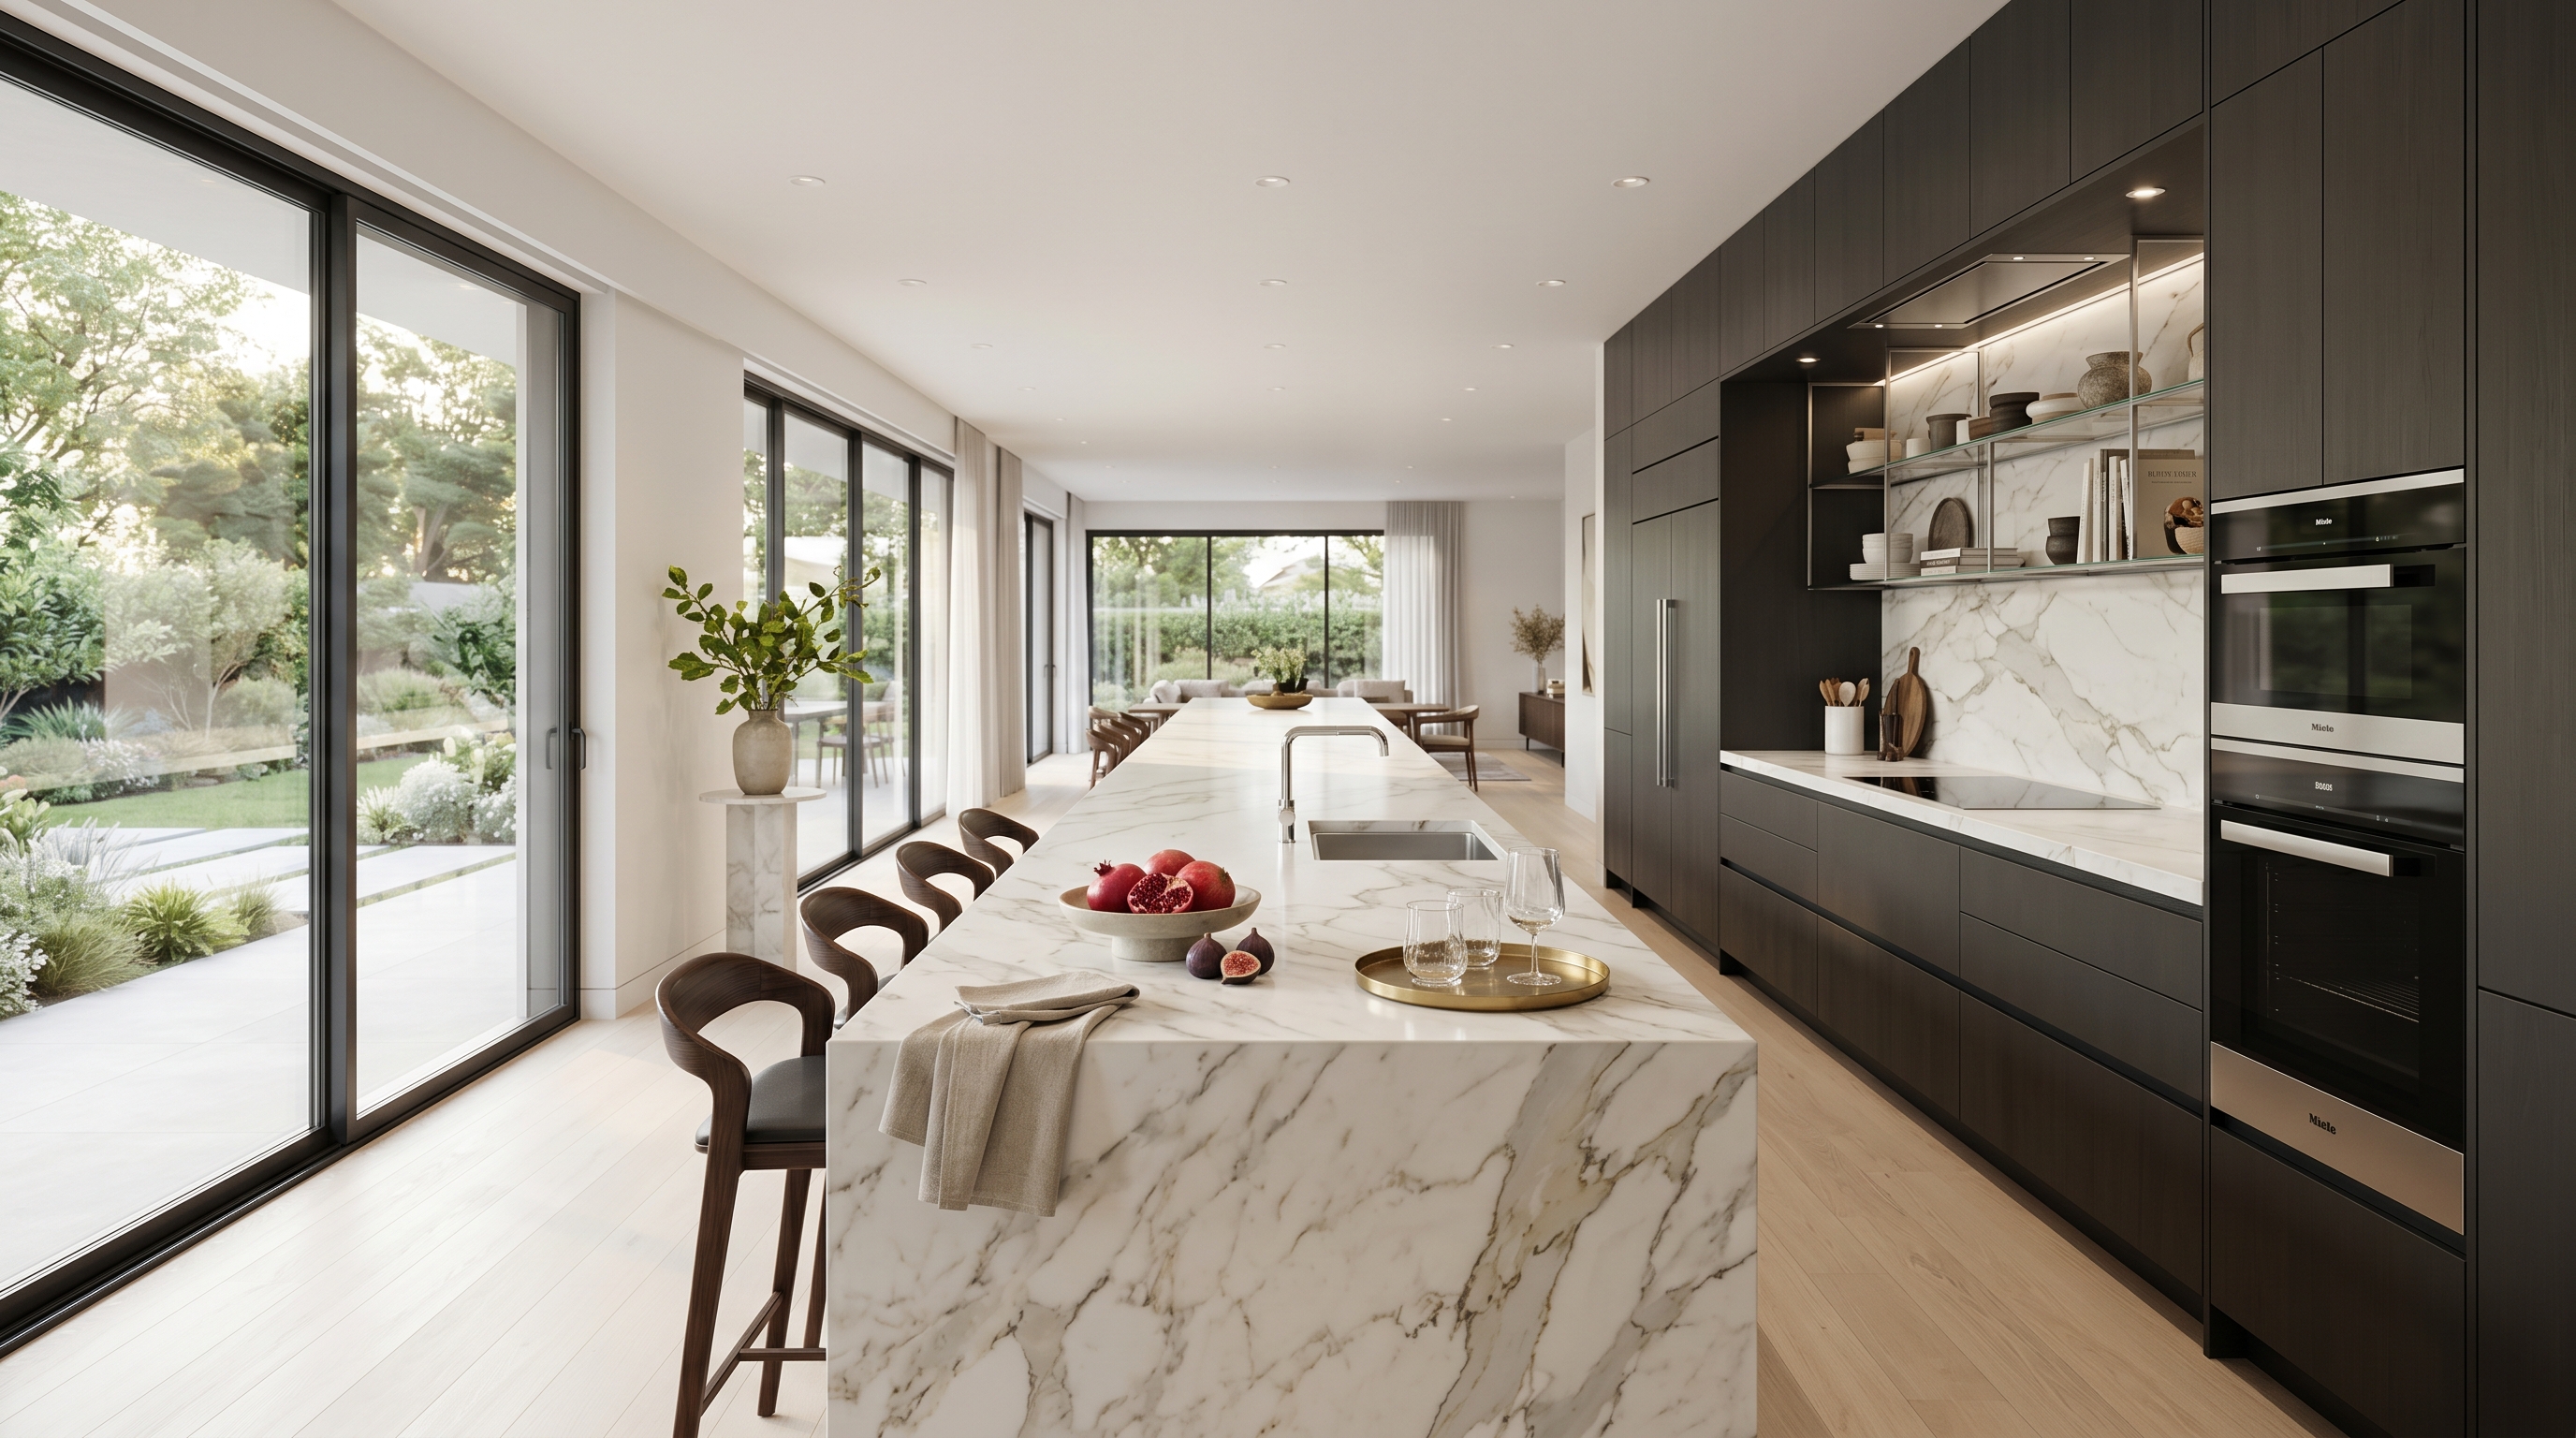
Money aside, an outdoor kitchen attached to the house is an outdoor kitchen the house keeps interrupting. The cook is two strides from the dishwasher and the laundry and the half-bath. The lighting is whatever spills out of the kitchen window. The view is the back of the building, and behind the cook is whoever is leaning over the railing watching. The room behaves like a porch extension because that is what it is.
The detached version behaves differently. Walking thirty feet from the kitchen door to a small pavilion at the edge of the lawn turns the meal into an occasion. The cook is somewhere. The guests have arrived. The view is outward — the garden, the pool, the borrowed landscape — not back at the house they just left. That difference is what separates an outdoor kitchen people use from one they intended to.
How to site an outdoor kitchen that earns its room
Start with the wind, not the wall. Find the prevailing summer breeze on the property and place the grill where smoke pulls away from seating and away from the house — not toward either. Then pick the view. The cook should look at something worth looking at; so should the guests. A small structure with its own roof — a pavilion or substantial pergola designed around ventilation rather than against it — outperforms a grill bolted to the back of the building every time.
Keep it sized to the cooking that actually happens, not to the catalog. We made that case in why the luxury outdoor kitchen is overbuilt; siting is the other half of the same argument. One excellent cooking surface, a generous counter, a real roof, ten feet of clean air on every side — and a path back to the house long enough that the room feels like a place the family went to.
Then dig the trench. The gas line, the cable, the water line, the data run for lighting. Spend the money once. The kitchen will be there for thirty years; the line will not be the thing you remember.
A great outdoor kitchen earns its keep by being a destination. The version glued to the back wall is, almost by definition, not one.
Book a private showroom tour
If this changed how you are thinking about where the outdoor kitchen should go, the next step is not another article. Book a private showroom tour and spend an unhurried hour, one on one, with a BauTeam design consultant — at the studio nearest you in Atlanta, Boston, Burbank, Chicago, Dallas, Las Vegas, Los Angeles or New York. Bring your site plan. We will help you find the outdoor kitchen the property actually wants.